What to Do After Getting Silkspear & Beating Bell Beast in Silksong
Description
The first few hours of Silksong are relatively linear as players pick up skills, learn the game’s mechanics, and progress in a straightforward path through the early game. After getting the Silkspear ability and beating the Bell Beast, Silksong players take a few different paths that open up.
After beating the Bell Beast, continue to the right to find routes to several new zones. This guide details seven different things players can do after getting Silkspear and freeing the Bell Beast in Silksong, including directions towards a prisoner who wants to be freed, several new areas and their maps, two bosses blocking Hornet’s progression, and more tips on what to do in Silksong.
Free Grindle, An Imprisoned Thief
After beating the Bell Beast, continue to the right of its boss arena, ring the giant bell, then keep going right. Make your way through the next room, then continue right until you enter a large room with numerous red spherical growths. If you strike downward on these, Hornet will bounce in the direction she is facing.
Navigate to the bottom right of this large, winding room, then hit the lever to extend a series of platforms down the chasm. Go down the chasm, skip the first exit to the right (which leads to a boss), and look for a building with a sign outside that looks like a circle with lines through it.
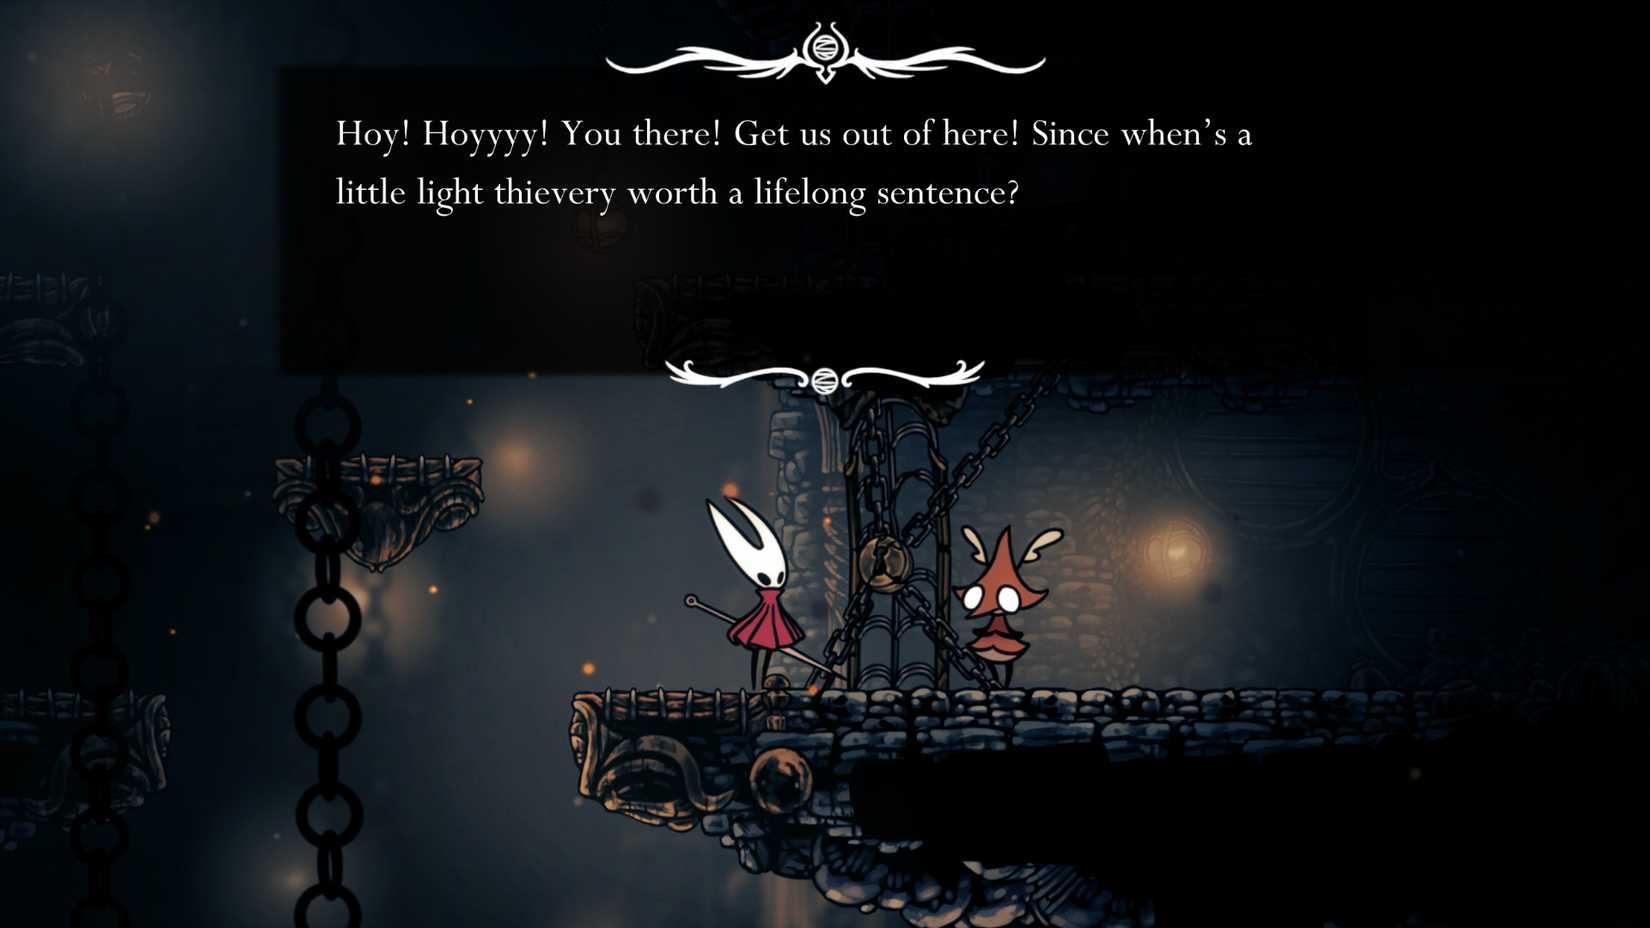
This is a prison – go inside, then jump up to the second level to find a prisoner who will beg you to set him free. Hit the cell door to break it. Grindle will appreciate you saving him, and you can jump up to a platform above him to get the Straight Pin tool.
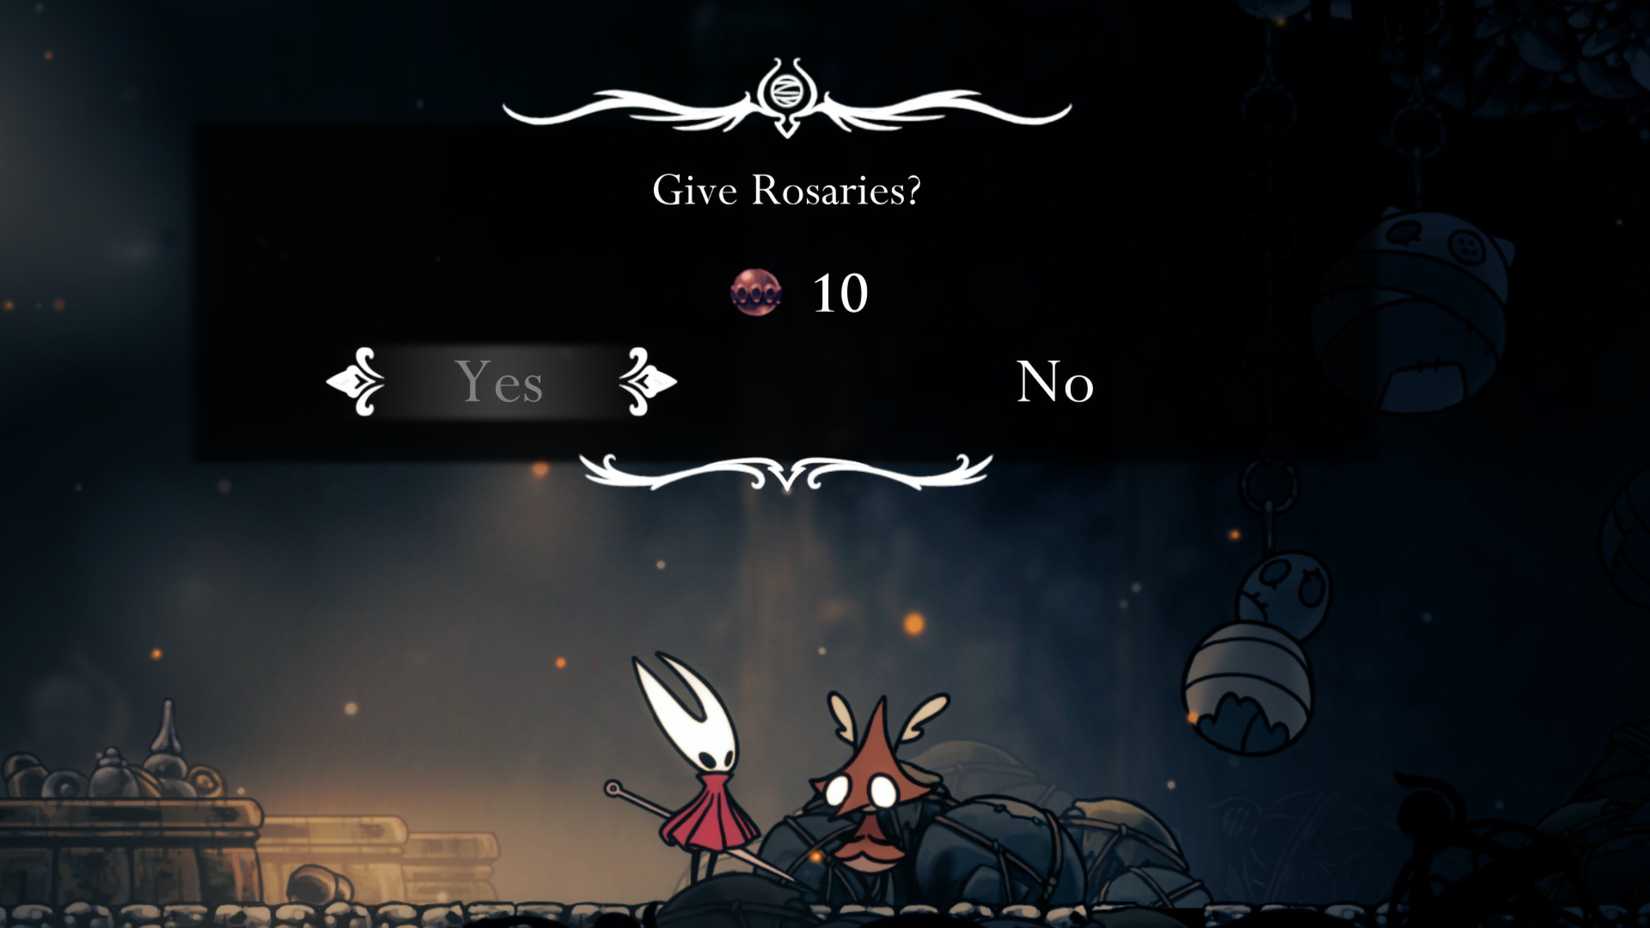
If you return to this prison later on, you can give him Rosaries in exchange for secret information. Grindle can reveal a variety of different things, like upcoming areas or bosses, but each piece of information costs increasingly higher amounts of Rosaries.
Buy The Deep Docks Map From Shakra
Exit the prison, then carefully continue down the chasm. Eventually you will drop into a room between The Marrow and the Deep Docks, a zone filled with lava. Head to the far right side of this transition room (without touching the lava, which will deal two masks of damage), then keep going through the pipes in the next room.
Look for an elevator at the end of this long pipe room to find a bench you can rest at and restore HP. You must spend 30 Rosaries to unlock this bench.
Continue into the room to the right, and you will find Shakra once again. Shakra has moved to the Deep Docks from her spot in The Marrow, and now offers a map of the Deep Docks as well as new map pins.
The Deep Docks map costs 50 Rosaries, the Vendor Pins costs 80 Rosaries, and the Ring Marker costs 40 Rosaries.
Return to Bone Bottom’s Wishwall
After buying a map to the Deep Docks area, go to the left of Shakra to find the Deep Docks Pharloom Bellway station. This station connects back to the other fast travel stations you have discovered, which, by now, should include both Bone Bottom and The Marrow.
Take the Bell Beast back to Bone Bottom and you will discover that Flint has completed his wishwall. Interact with the wishwall to see two new quests that Hornet can pick up: Bone Bottom Repairs and Garb of the Pilgrims.
-
To complete Bone Bottom Repairs, you must donate 200x Shell Shards to the wishwall.
- After completing this wish, return to Bone Bottom later on to discover some major changes to the settlement.
- To complete Garb of the Pilgrims, you must collect 12x Pilgrim Shawls, which drop from Pilgrim enemies throughout Pharloom.
Meet the Forge Daughter
Take the Bell Beast back to the Deep Docks, then go to the right of Shakra. In the next room, take the first exit down near the entrance. Continue through the next room, taking elevators down, until you reach the bottom-right corner. Beat the waves of enemies, then continue to the right to meet the Forge Daughter, a gigantic smith bug.
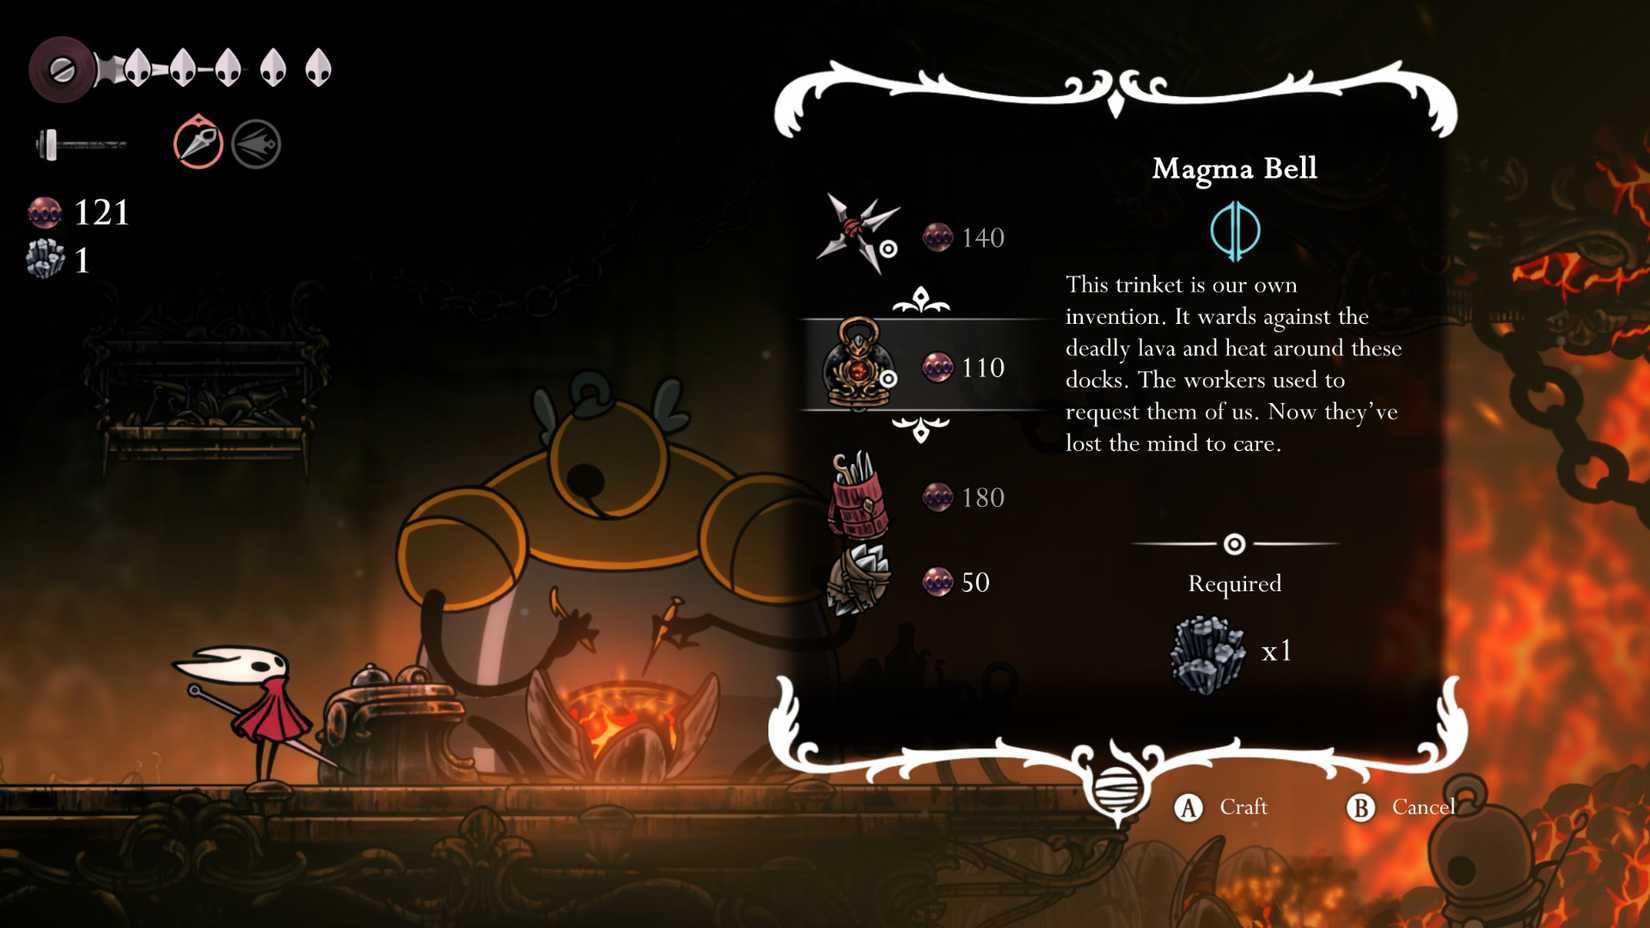
The Forge Daughter can turn your Rosaries and Craftmetal into various tools, traps, and other items. While you are here, if you have a Craftmetal, pick up the Magma Bell. Equip this useful item to reduce the damage you take from falling into lava from 2 masks to 1 mask, and reduce the damage of other fire surfaces throughout the zone.
Find the Swift Step Skill
From Shakra’s location at the entrance to the Deep Docks, go upward. Make your way to the top-right of this room, then continue heading right through the next room. You can walk on the firey surfaces without taking any damage, but don’t linger on the same space for too long.
Go up at the end of this room, then continue heading up as you deal with flying red ant enemies.
Stop by a room on the right to find a bench Hornet can rest on, which costs 30 Rosaries to spawn.
Exit this room by jumping up into a new zone. Go left, and you will enter a challenge room with enemy waves. Defeat all red ant enemy waves, then continue to the left and drop down. Continue down, taking care not to fall onto enemies as you descend, until you find an exit leading to the left.
Enter this room and go all the way to the left to find another Weaver statue. Interact with this, and Hornet will acquire the Swift Step ability. By holding down the right trigger, you will dodge into a sprint. This ability can be used in mid-air, and if you jump at the end of a sprint, Hornet will catapult herself a longer distance than normal.
Beat the Ant Guardian or Lace To Unlock New Zones
There are two major bosses that block Hornet’s progression further into Pharloom: the Hunter Guardian (or Skull Ant) and Lace. The Skull Ant/Hunter Guardian can be found in a room just above the prison that contains Grindle in The Marrow, while Lace can be found in a room on the right side of the Deep Docks.
- To get to the Ant Guardian, fast travel back to The Marrow, then go back to Grindle’s prison in the top right of the zone. Sit on the bench in here to set your spawn point, then go upward in the room to the left to find the entrance to the Ant Guardian’s boss room.
- To get to Lace, make your way back to Shakra’s location in the Deep Docks (just next to the Pharloom Bellway station), then simply go directly to the right. Use the Swift Step ability to jump up to the lever on the second level, then continue past the unlocked barrier to face Lace.
Defeating the Ant Guardian unlocks access to Hunter’s March, while defeating Lace unlocks access to the Far Fields.
Find The Seamstress In The Far Fields
The Far Fields is home to various ant enemies, but with your new Swift Step ability, it’s not too hard to just jump past most of these enemies. Make your way to the far right of the initial Far Fields room, then continue into the room to the right. Use Swift Step and make your way to the bottom-right of this next room, taking care to avoid the lava pit.
Go into the room to the right, then go down, past the blowing air vents. You should find Shakra nearby, who will sell you a map of the Far Fields for 50 Rosaries.
Enter an alcove about halfway down the pit (just below Shakra’s room), then drop down and make your way to the right side of this lengthy, lava-filled room – check out that deactivated golem in the background, while you’re here.
You will enter what appears to be an open-air area with lots of air vents and a floating platform made up of patchy balloons above. Drop down, platform and defeat enemies as you head right, then loop back to enter the floating house.
Here, you will meet the Seamstress, who offers to improve your cloak by making it into “something far more buoyant.” Pick up the Flexile Spines quest from her, then head out into the Far Fields to find some Spines for the Seamstress!


